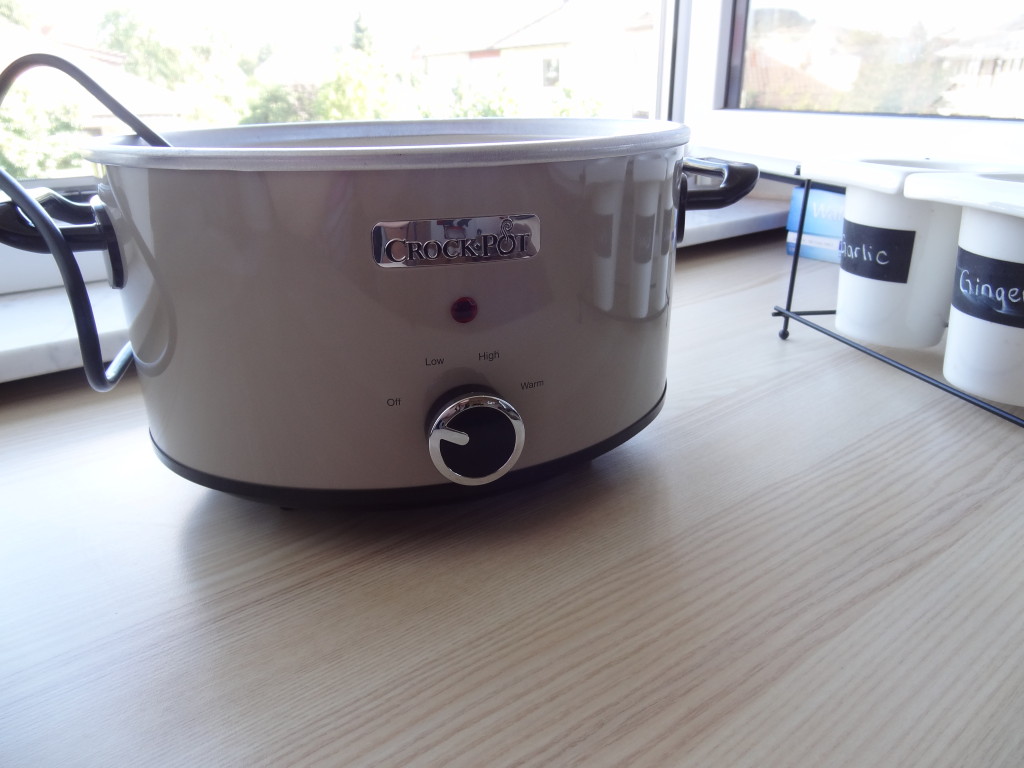
I bought a Crockpot on Amazon last week and it finally arrived (all the way from the UK), so I figured it would be a good time to take it out for a spin. :)
In the same shipment I received two packages of freezer paper (it’s plastic coated on one side but can be folded like regular paper), since using baking paper didn’t work for me.
This is my Crocky, I think it’s very stylish and fits nicely into my kitchen. Maybe I should buy another stoneware insert, so I can actually use it for cooking food. :D
I want to talk a few lines about loaf molds. I’ve tried a metal one (actually a re-purposed bread loaf mold), which didn’t like the CP leakage.. And then I tried a silicone soap mold..It’s designed to be used without an additional liner. And I had a very hard time getting my soap out of that one. So I decided I would have to get some wooden molds.
I told my father and he promised to take my design (which I had drawn on paper, mentioning dimensions for every piece of wood, how it needed to be cut, which adhesive to use, etc) to a friends’ workshop. He did. But they didn’t adhere to my specifications.. Which meant that my favored means of assemby/dissassembly – wing nuts – wouldn’t work anymore. I wanted a U-shaped mold that I could screw on the end pieces with wing nuts.
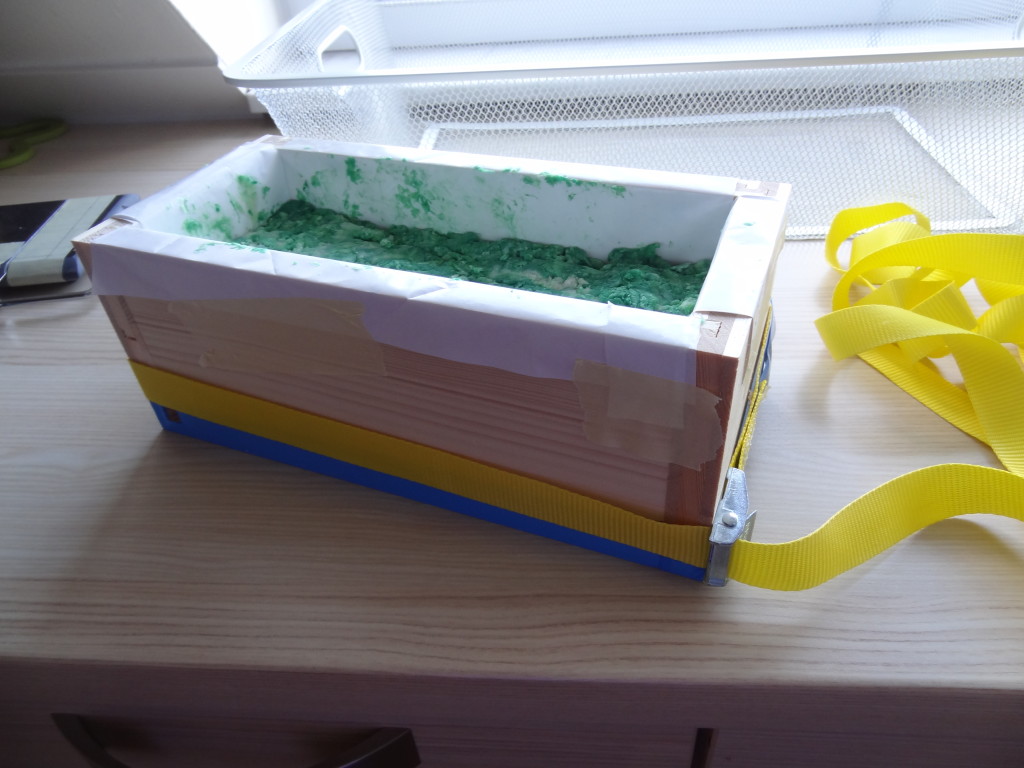
Dads friend went with 5 loose parts of wood that can be attached to each other with keys and slots.
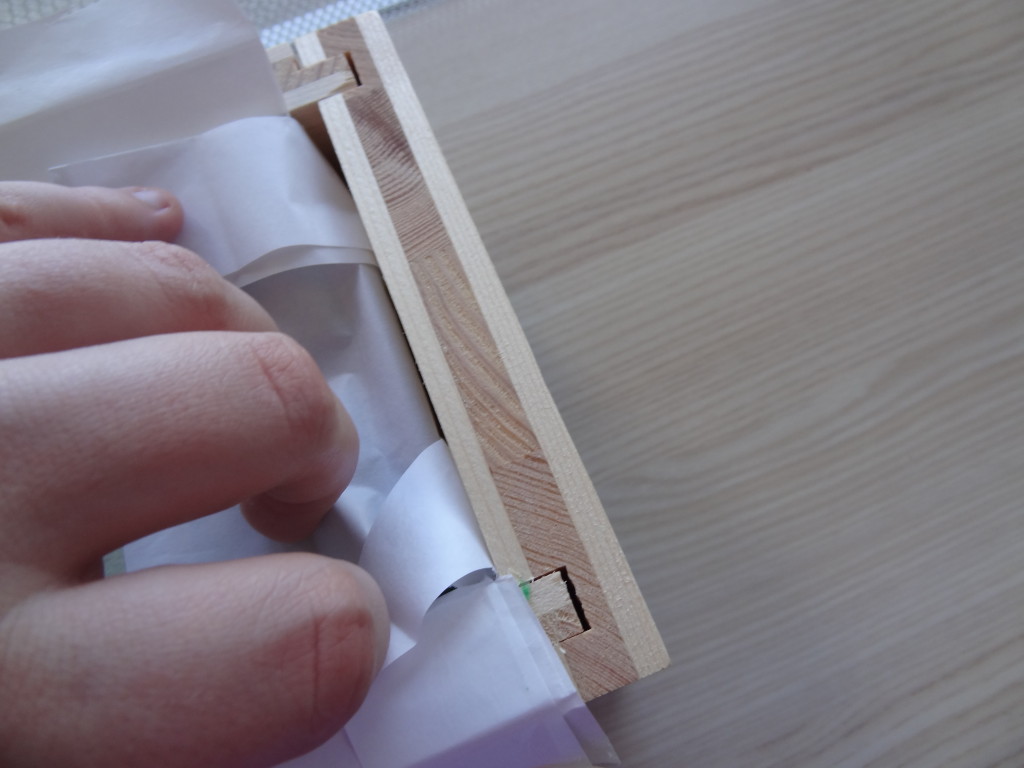
Unfortunately, that does not make a very sturdy soap mold (that I would have to bang on the table to get air bubbles out).. So I improvised:
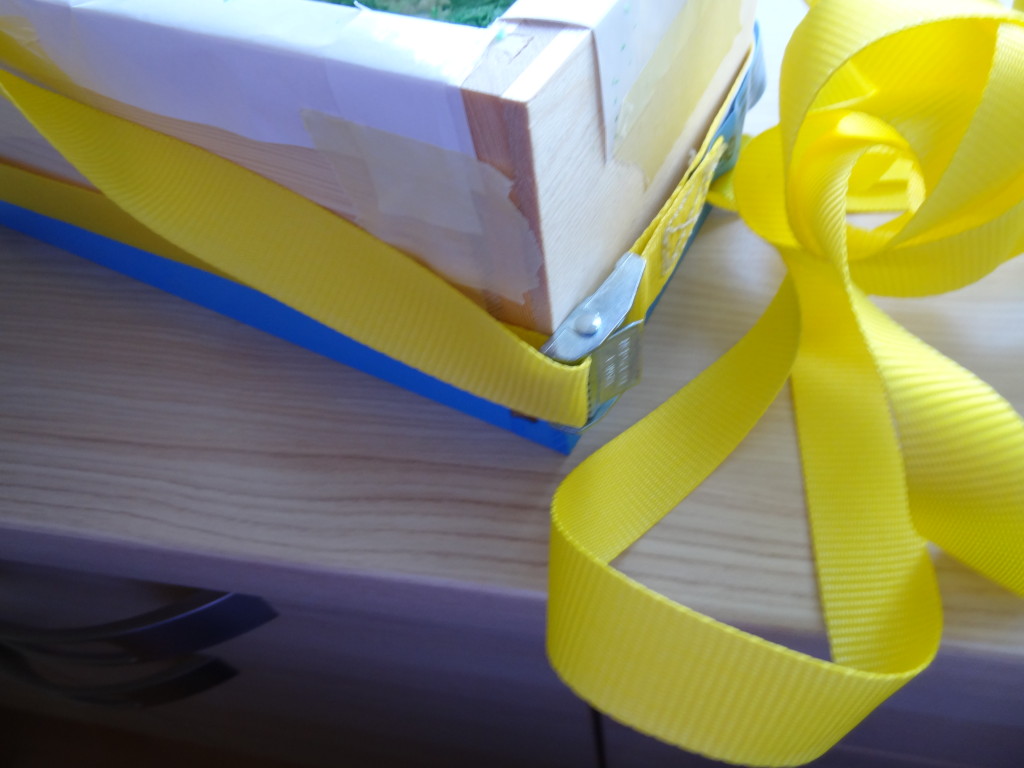
Tension belt! Another pro of that improvisation: I can strap together two molds just as easily.. for example if I want to make a double batch.
Dads friend made 4 molds and I painted a different colored strip around each one, so I can easily identify which part fits best with another. #colorcoding ftw!
To disassemble the mold and get the finished soap log out, simply remove the tension belt. Now the end pieces come off easily.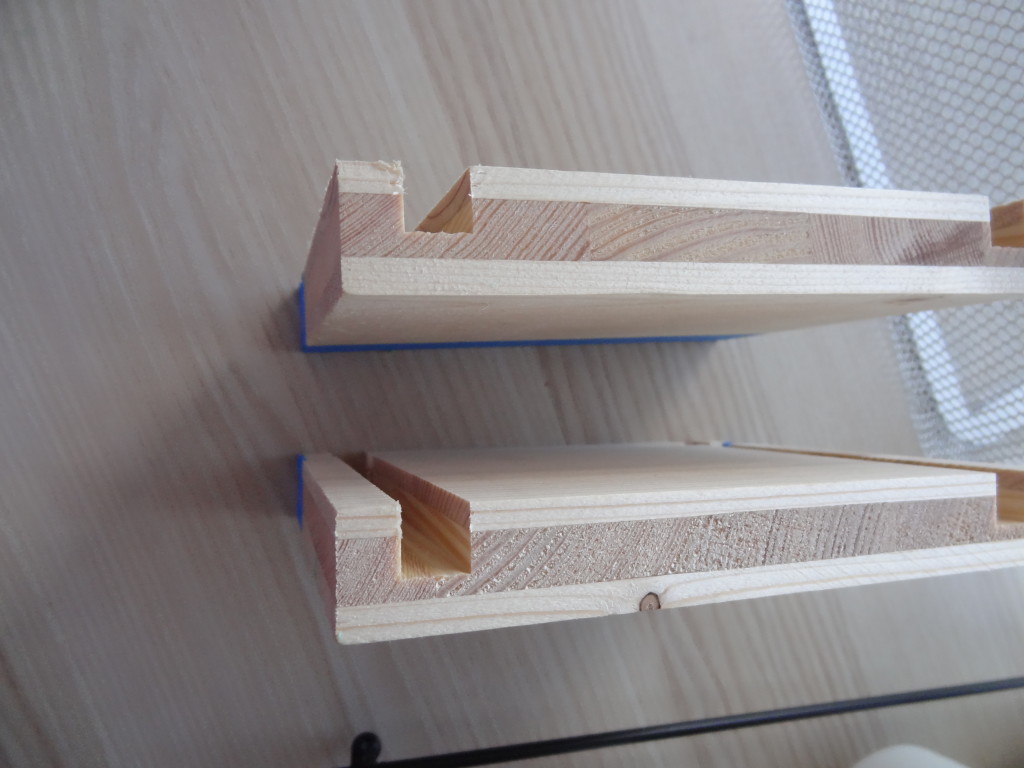
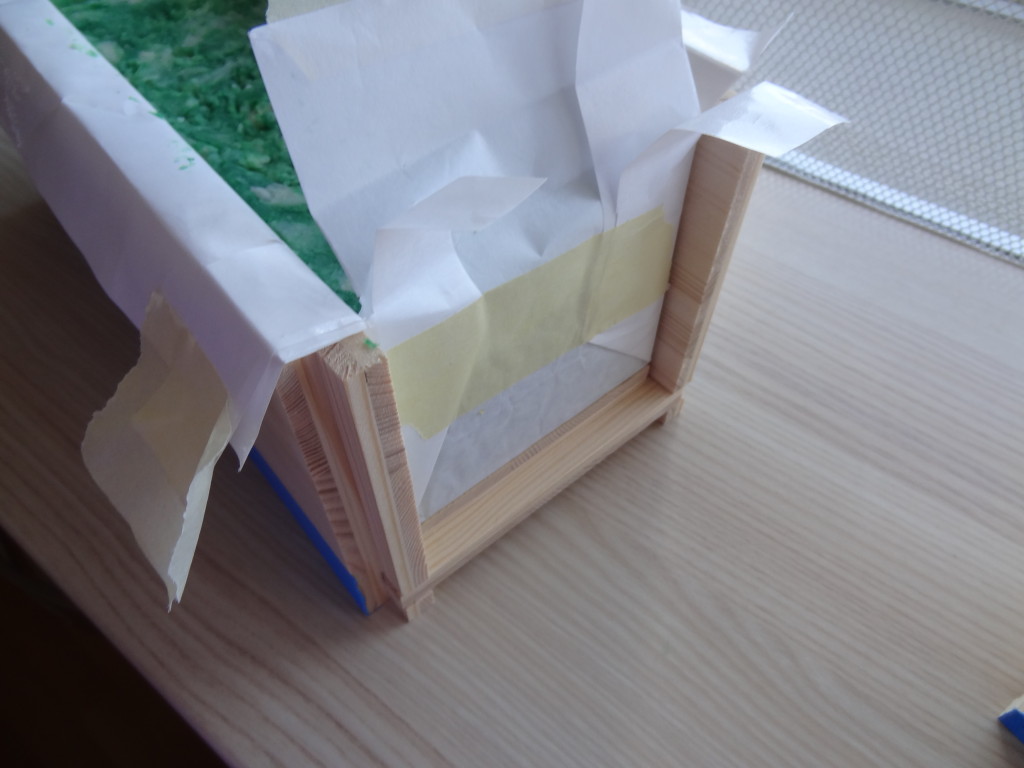
Now you can slide the log out.. or disassemble the mold completely. Either way, it’s a breeze!
So let’s talk soap. For all the people out there who don’t know what hot process means:
And now.. Soaping!
CPHP Unisex Shaving Soap
I adapted this recipe from one that I’d already made as cold process and ran it through SoapCalc a couple of times until I was sure that I’d gotten it right. Hot process differs from cold process quite a bit, because you will add your superfat after the soap has gone through the cooking process. If you want to use expensive oils – like jojoba, argan or shea butter – always use hot process method, that way you can be sure that all the great benefits of these fats stay in the soap.
My base recipe contains:
Olive Oil, Sunflower Seed Oil, Coconut Oil, Palm Oil*, Castor Oil, Lard and Cocoa Butter.
* I used up the rest of my palm oil that I’ve had. All future recipes will not contain any more palm oil. For obvious reasons.
These base oils make up 100% of the oil content. From this amount you will calculate how much water and lye you need. Enter a superfat of 0% into the calculator.Now take the weight of the entire oil amount and figure out how much 5% (or at whatever rate you want your superfat to be). I’ve superfatted at 5% with Shea Butter and Extra Virgin Olive Oil. Measured it out and put it in an extra bowl, since it will not be melted down with the base oils.
Because I want this to be a shaving soap, I measured out some bentonite clay. BC will give the soap the right “slip” for the razor on your skin. To better hold the scent, I added my fragrance oil (“Summer Meadow”.. Smells like a meadow. In the summer. ;) ) to the clay and mixed it thoroughly.
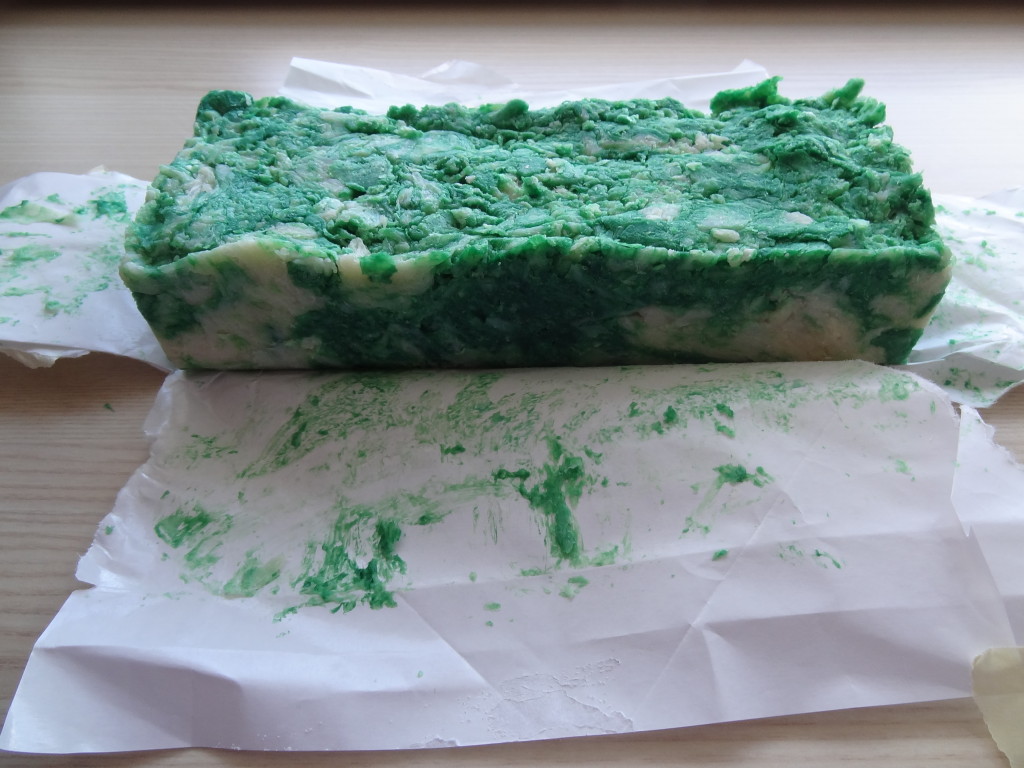
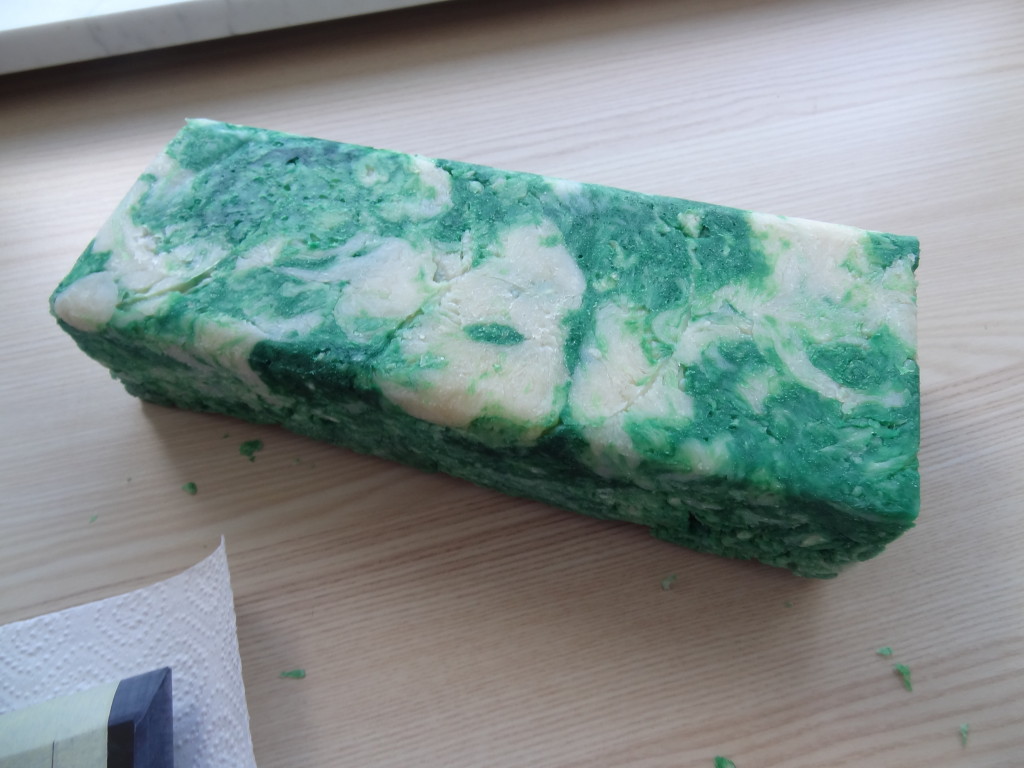
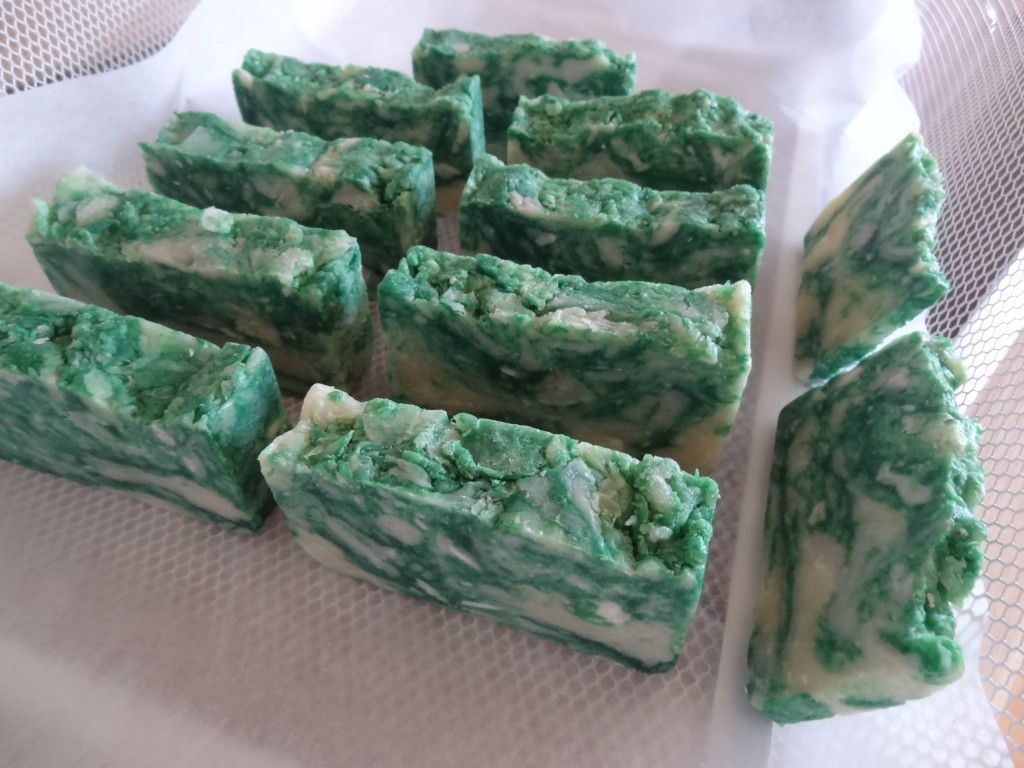
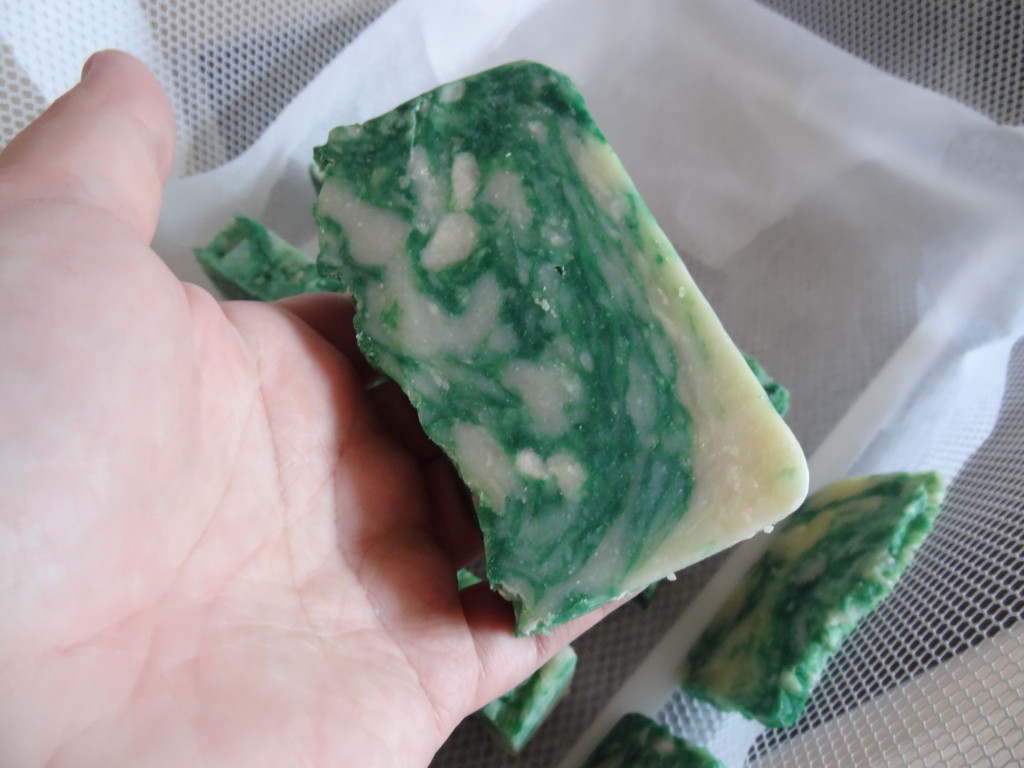
And for some coloring (plain white soap is just..boring.. And this is a summery soap, after all.), a little green oxide mixed in some water. I did an in the bowl swirly thing before i globbed the soap into my mold. After 12 hours of hardening, I unmolded and cut.
I really like how it turned out. Now the soap has been placed in my curing rack. Although the soap is ready to use, curing will make for a harder, longer lasting bar.

